01. Geometry Concepts
1.1.01. geometry concepts
![]()
Date published:
September 7, 2022
DESCRIPTION
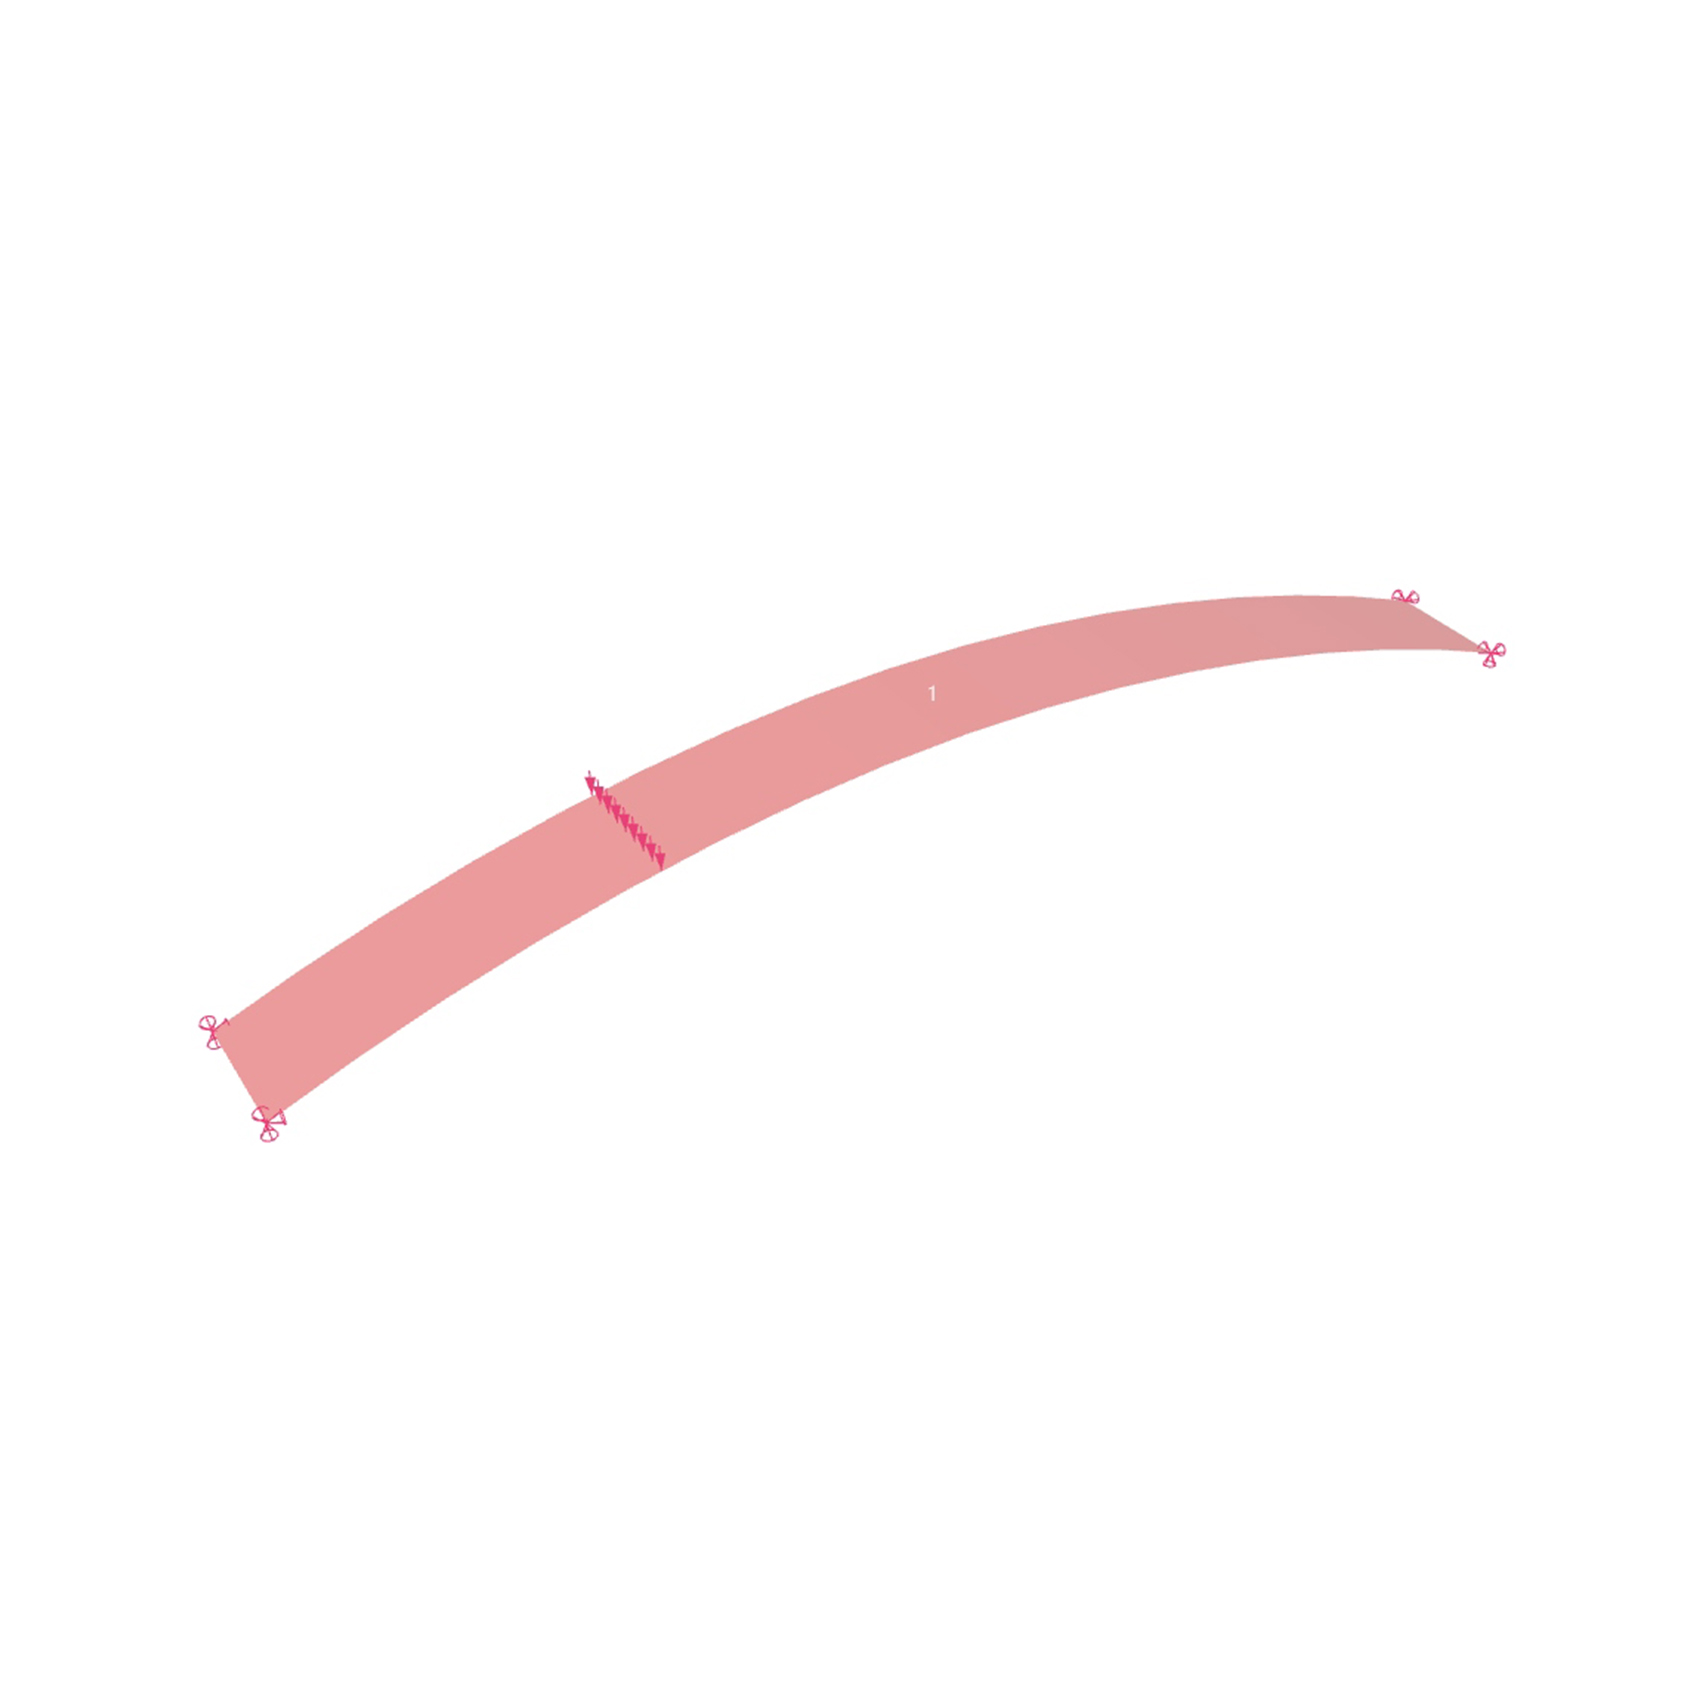
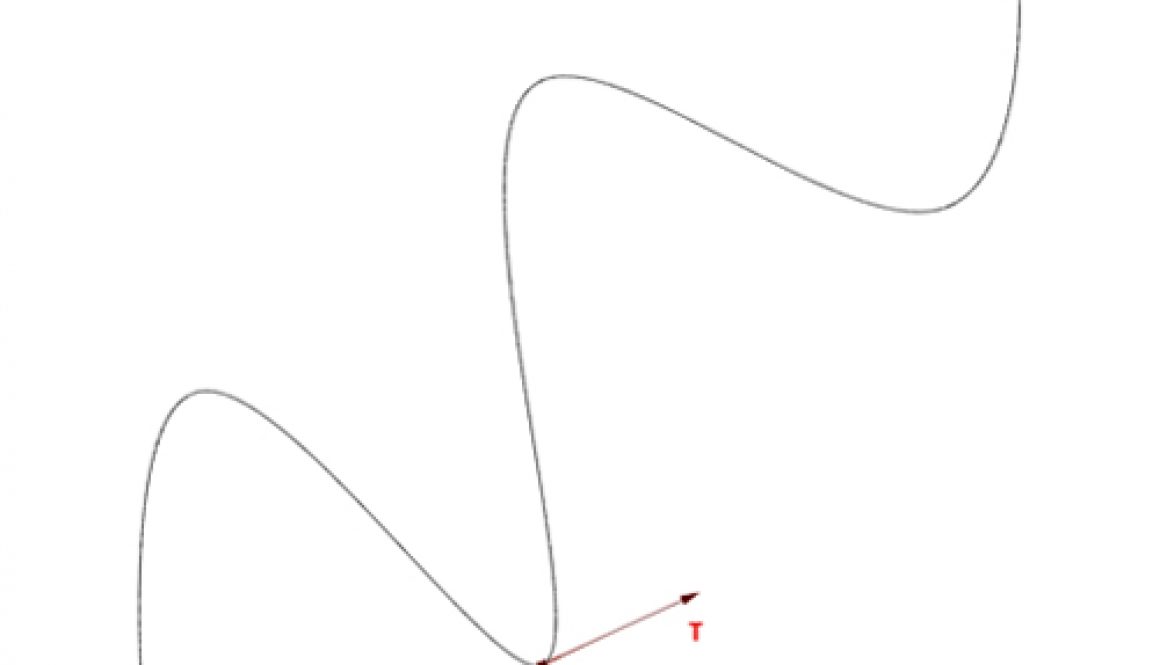
a. Curves
Generally speaking, a line or curve can be seen as a one-dimensional object with a starting point and an endpoint that define the curve domain.
The location of every point on the curve can be defined by a parameter “(t)” that falls inside the curve’s one-dimensional domain. Every point on a curve has a tangential vector “T” associated with it.
When one “reparameterises” a curve in grasshopper (r-click on the curve component), one resets this domain to “0 to 1”, meaning the starting point has an associated value of t=0, and the end point a value of t=1.
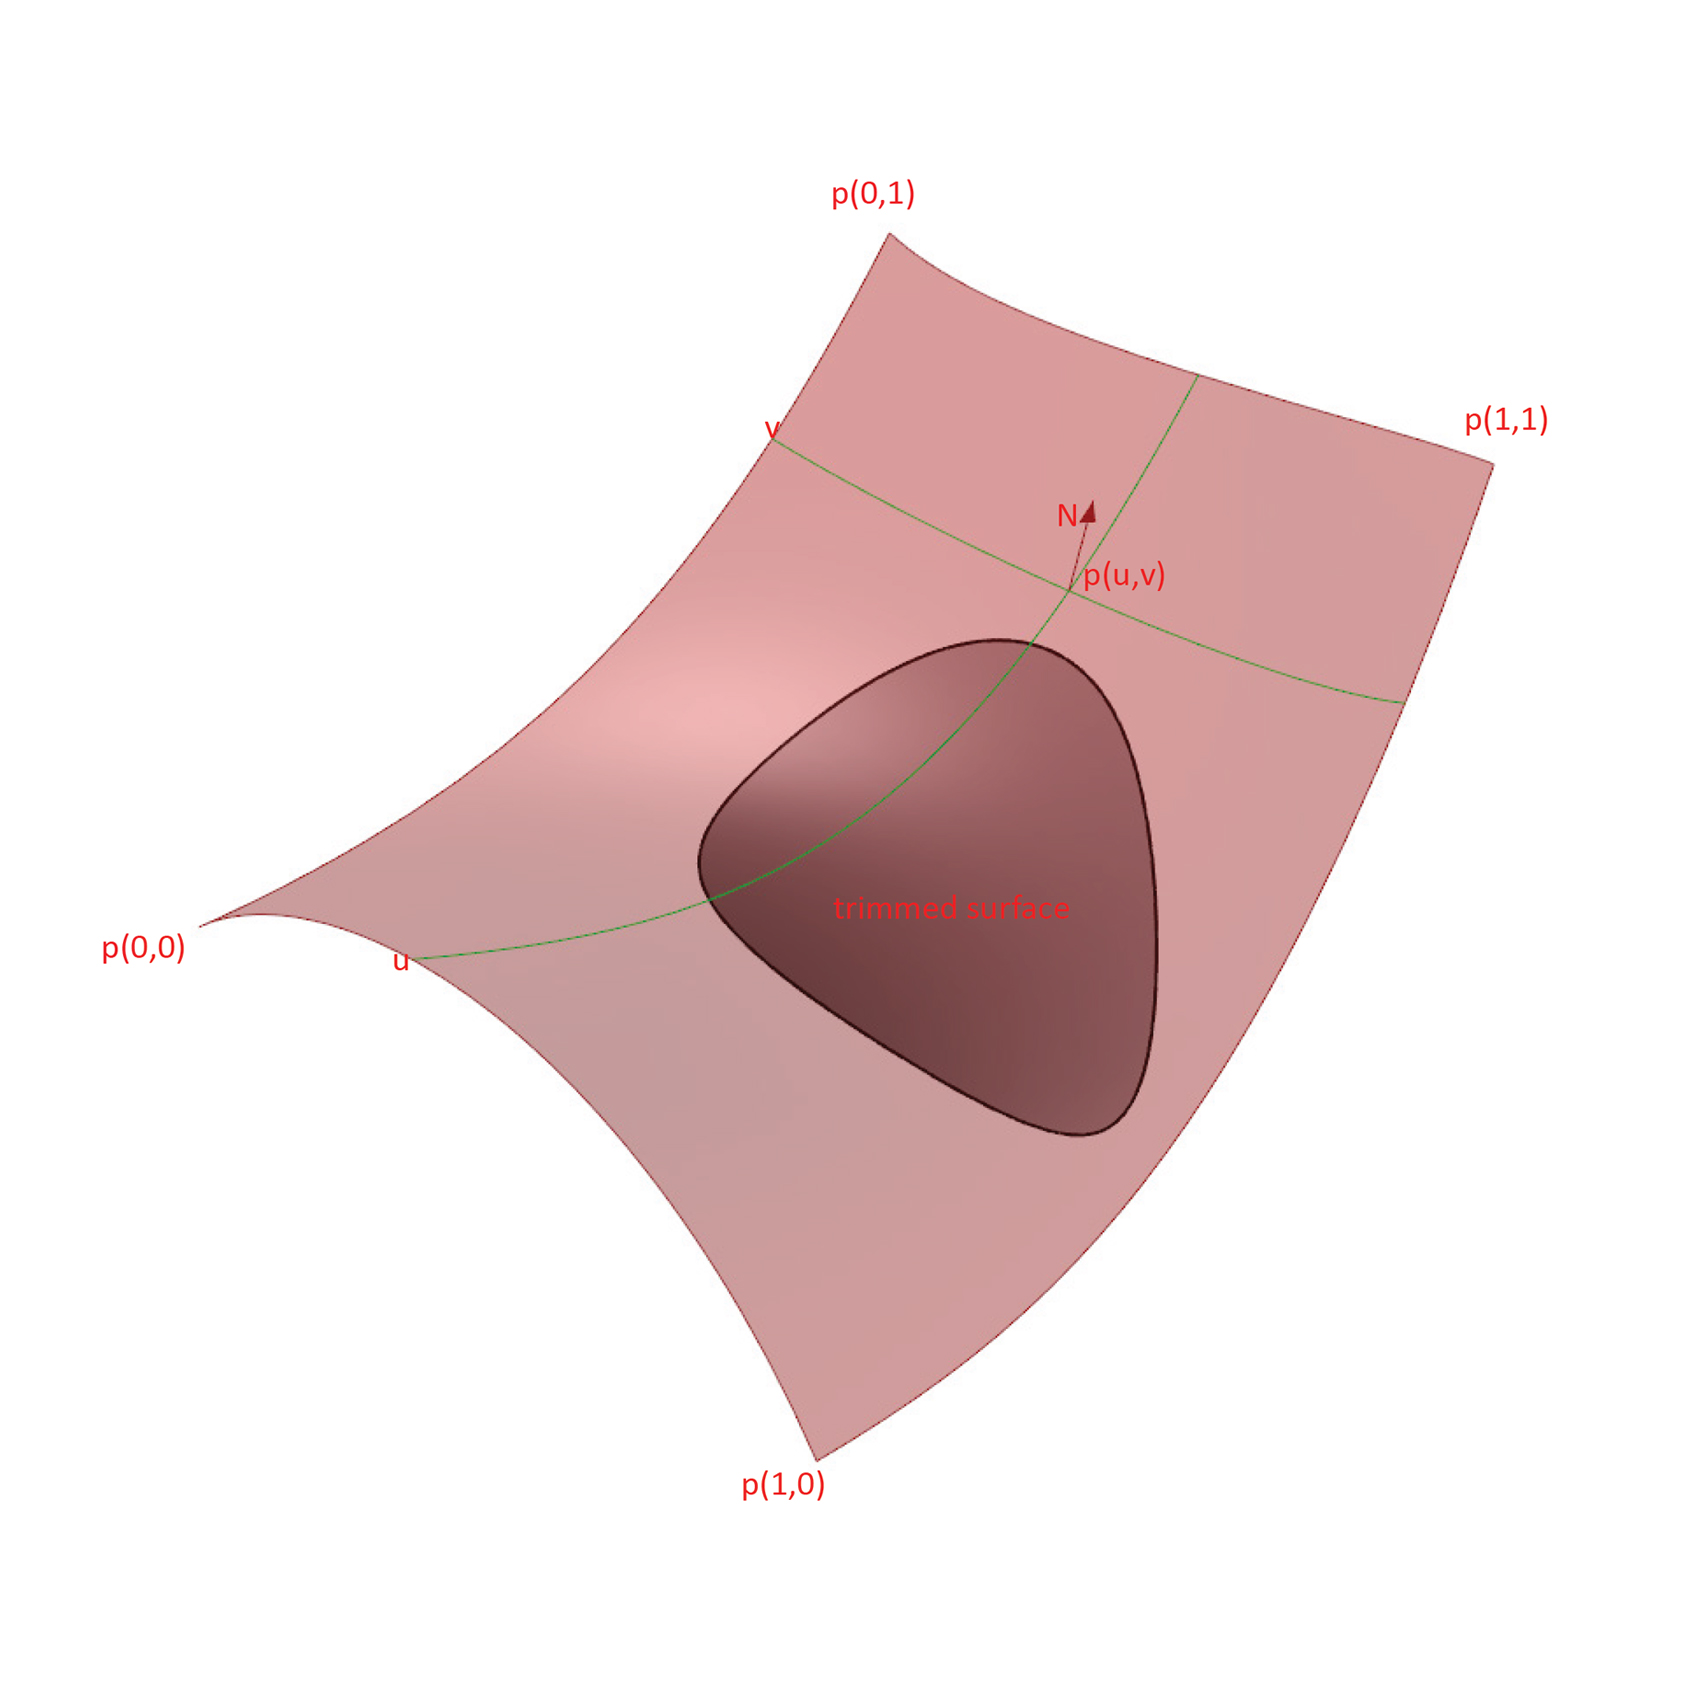
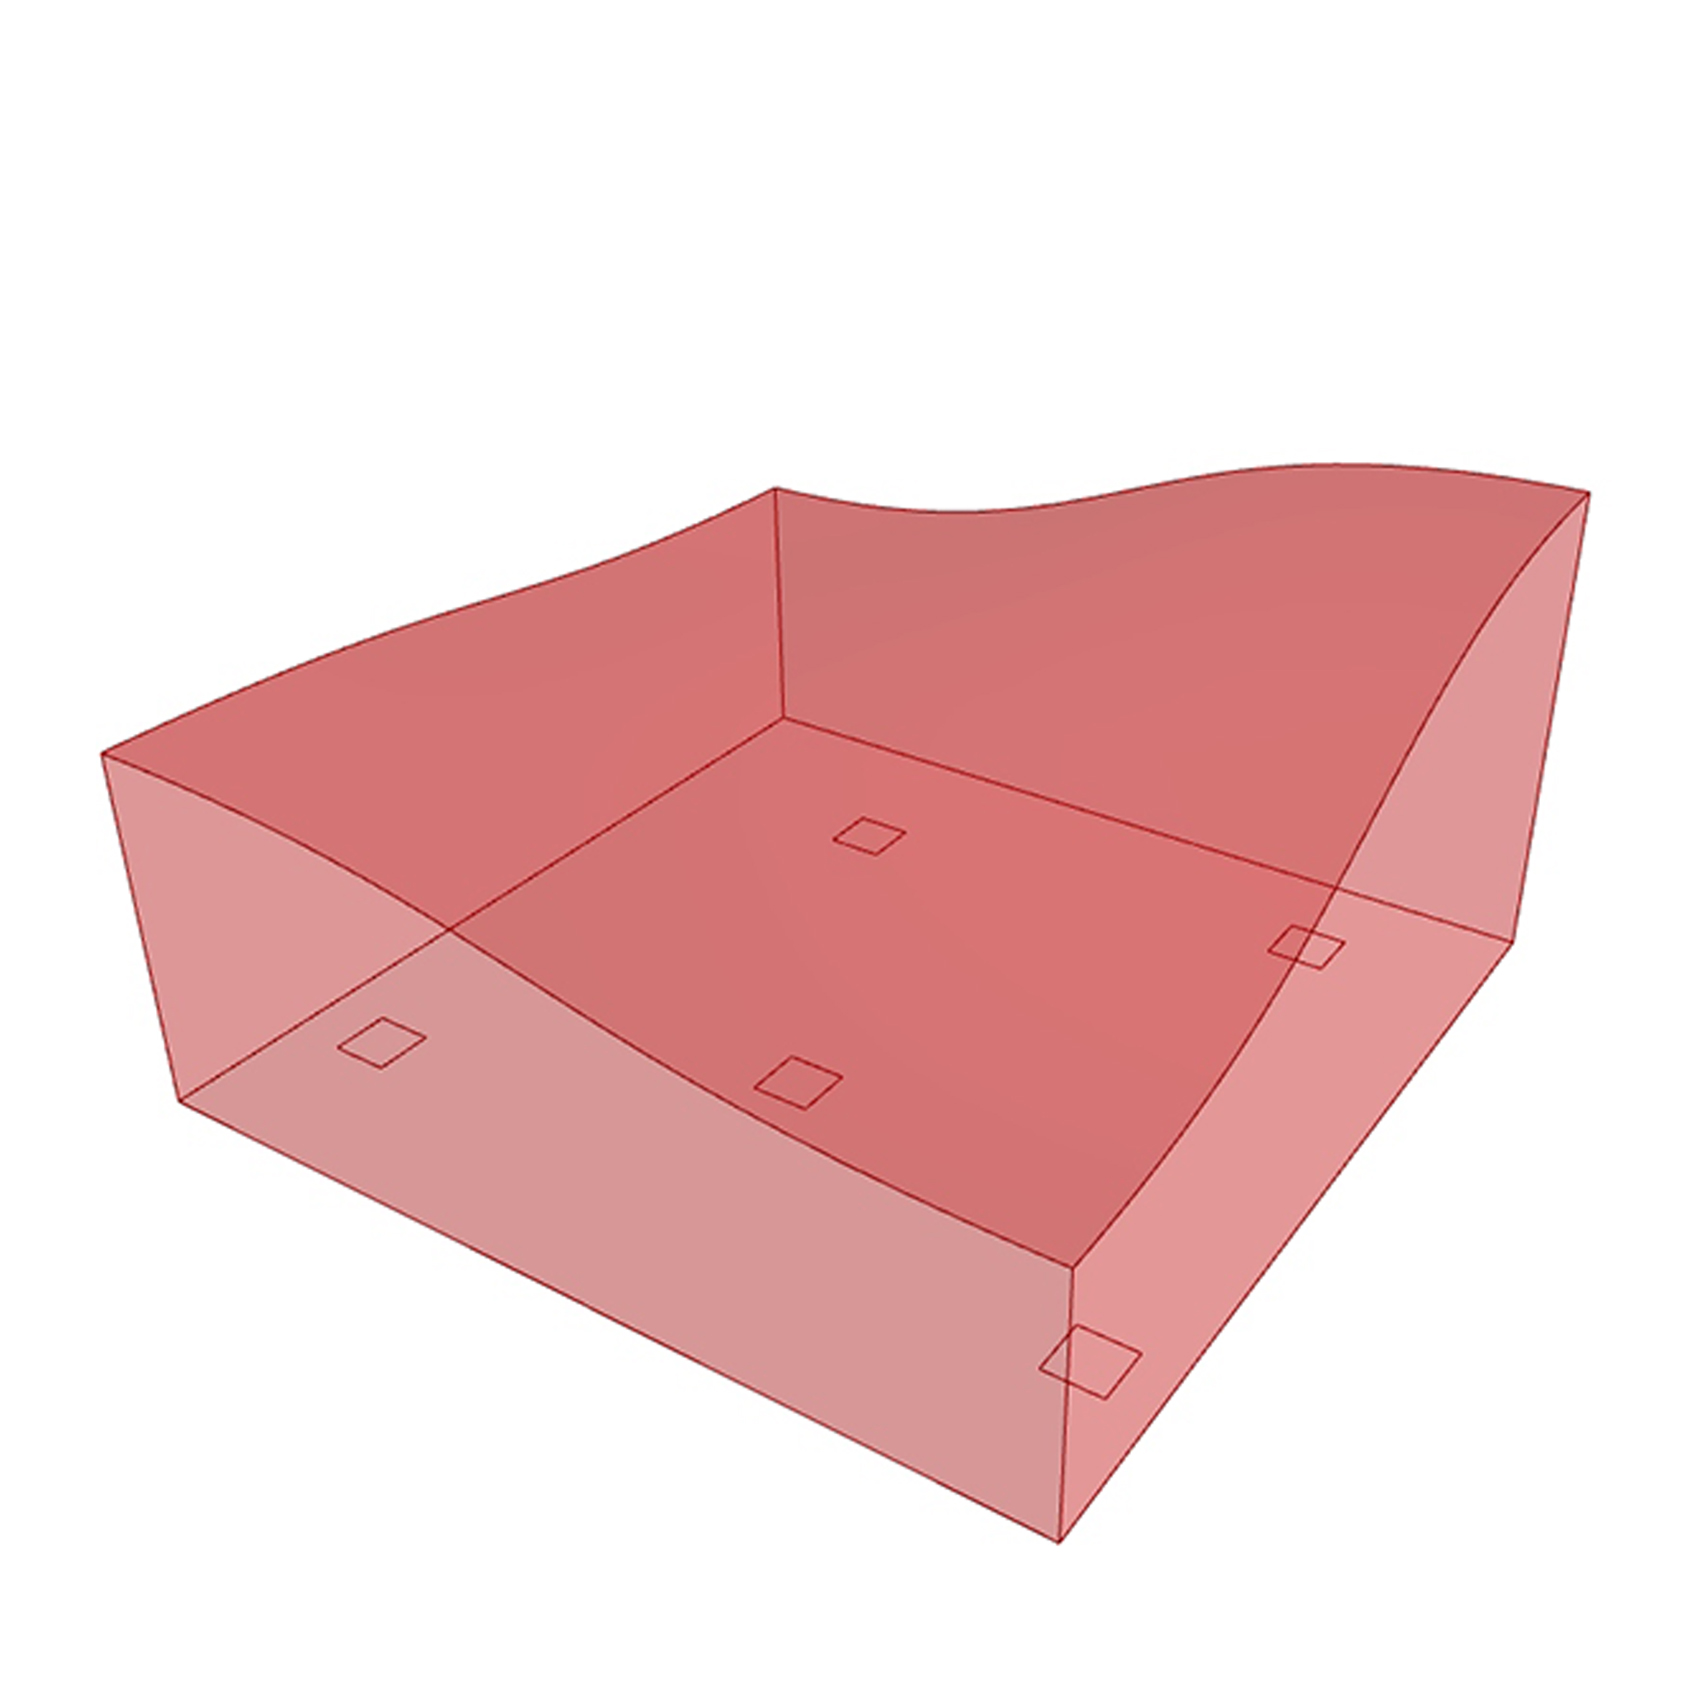
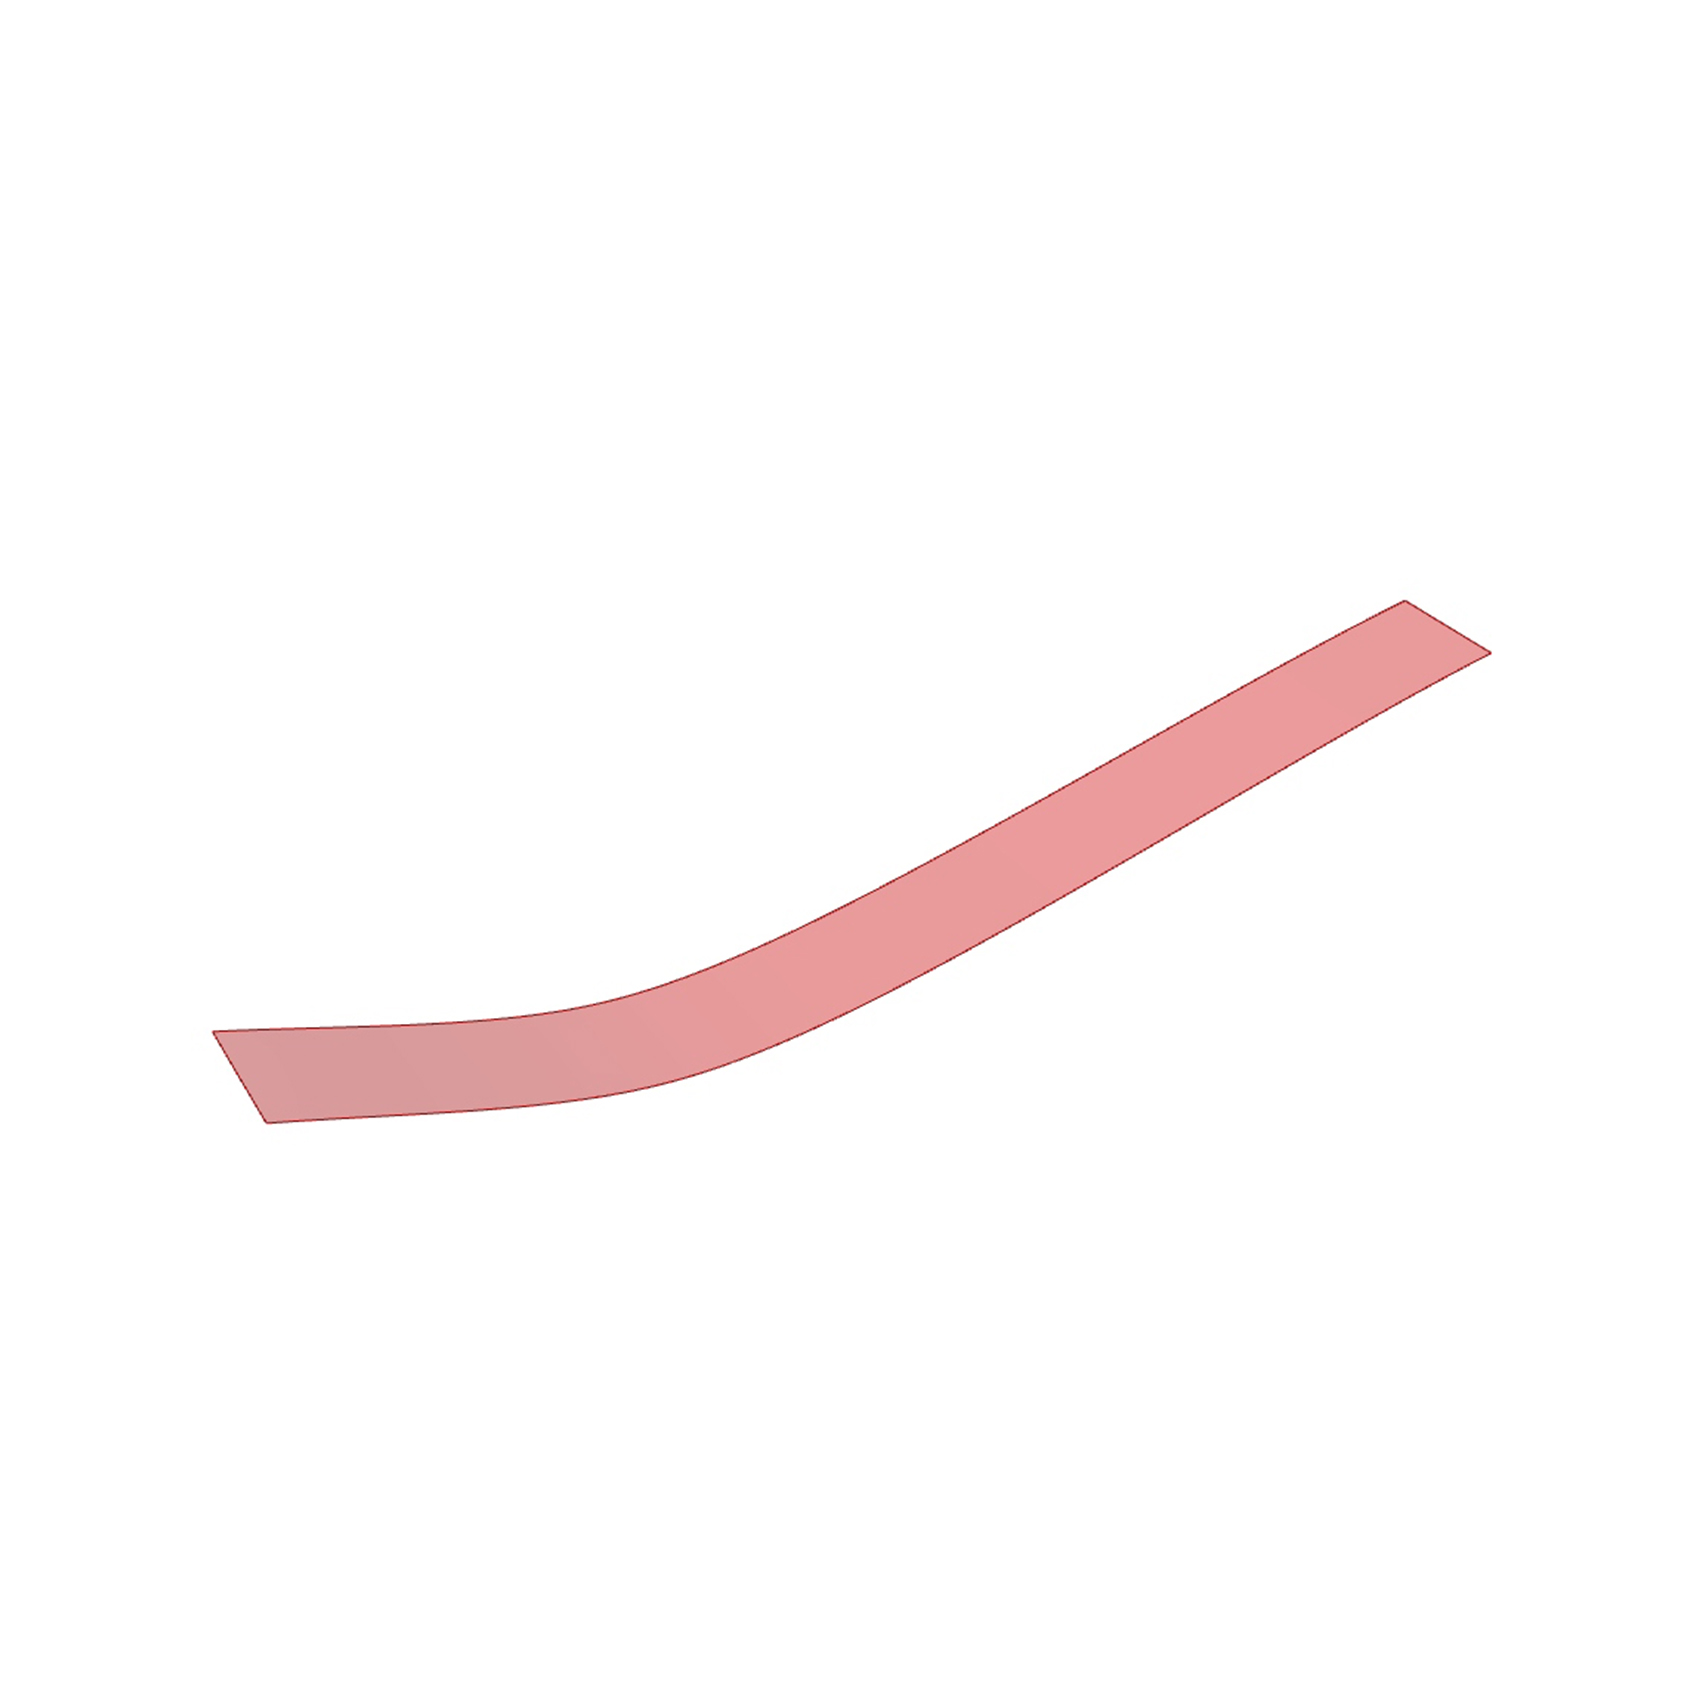
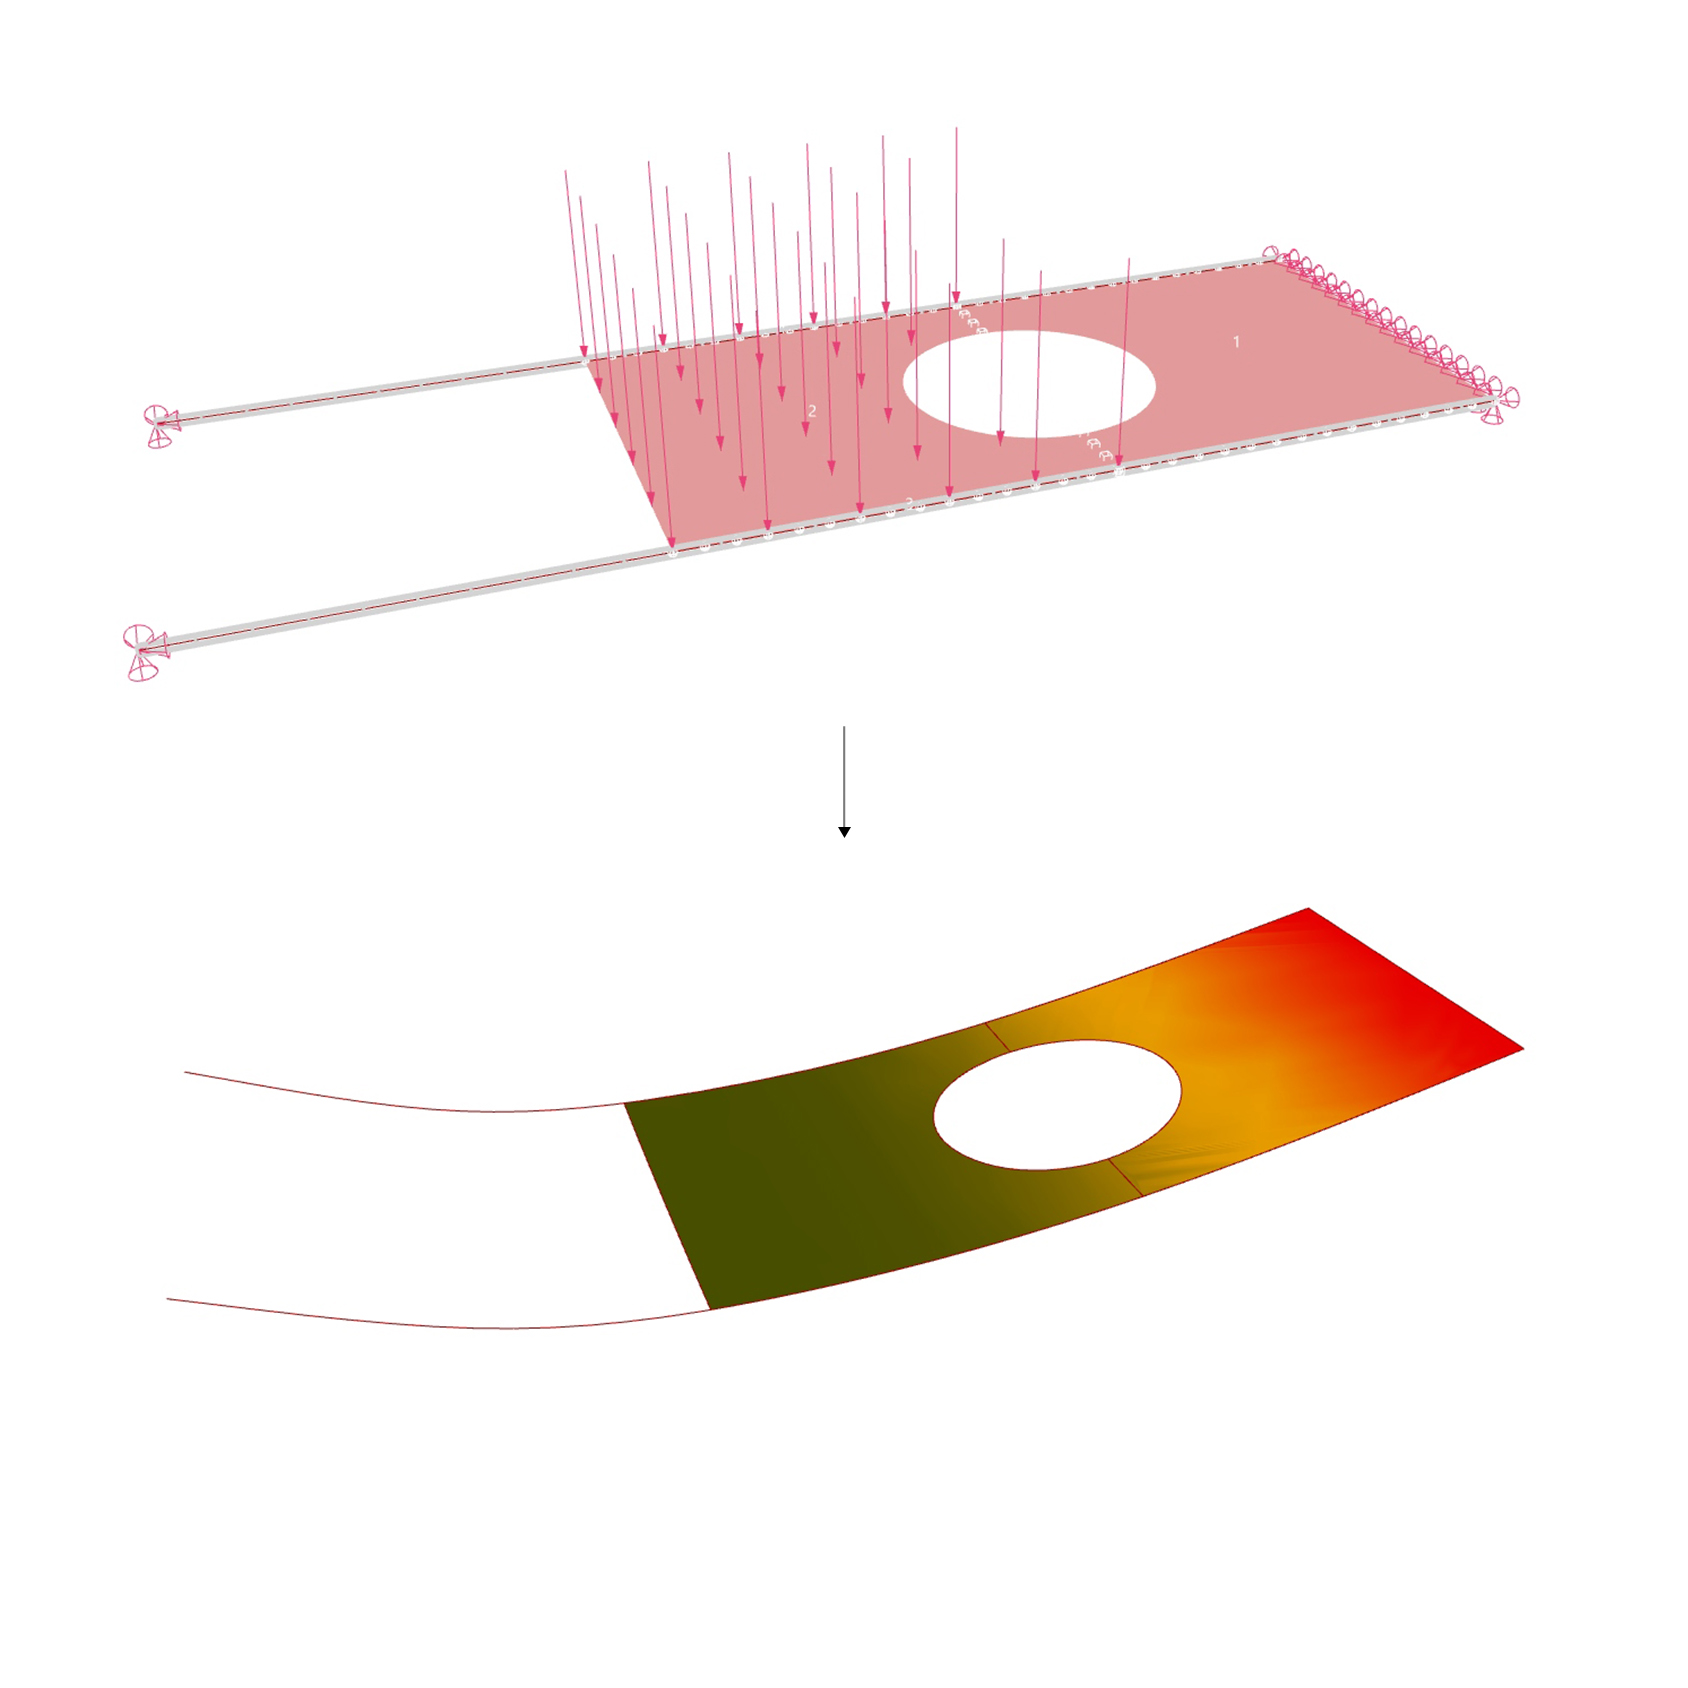
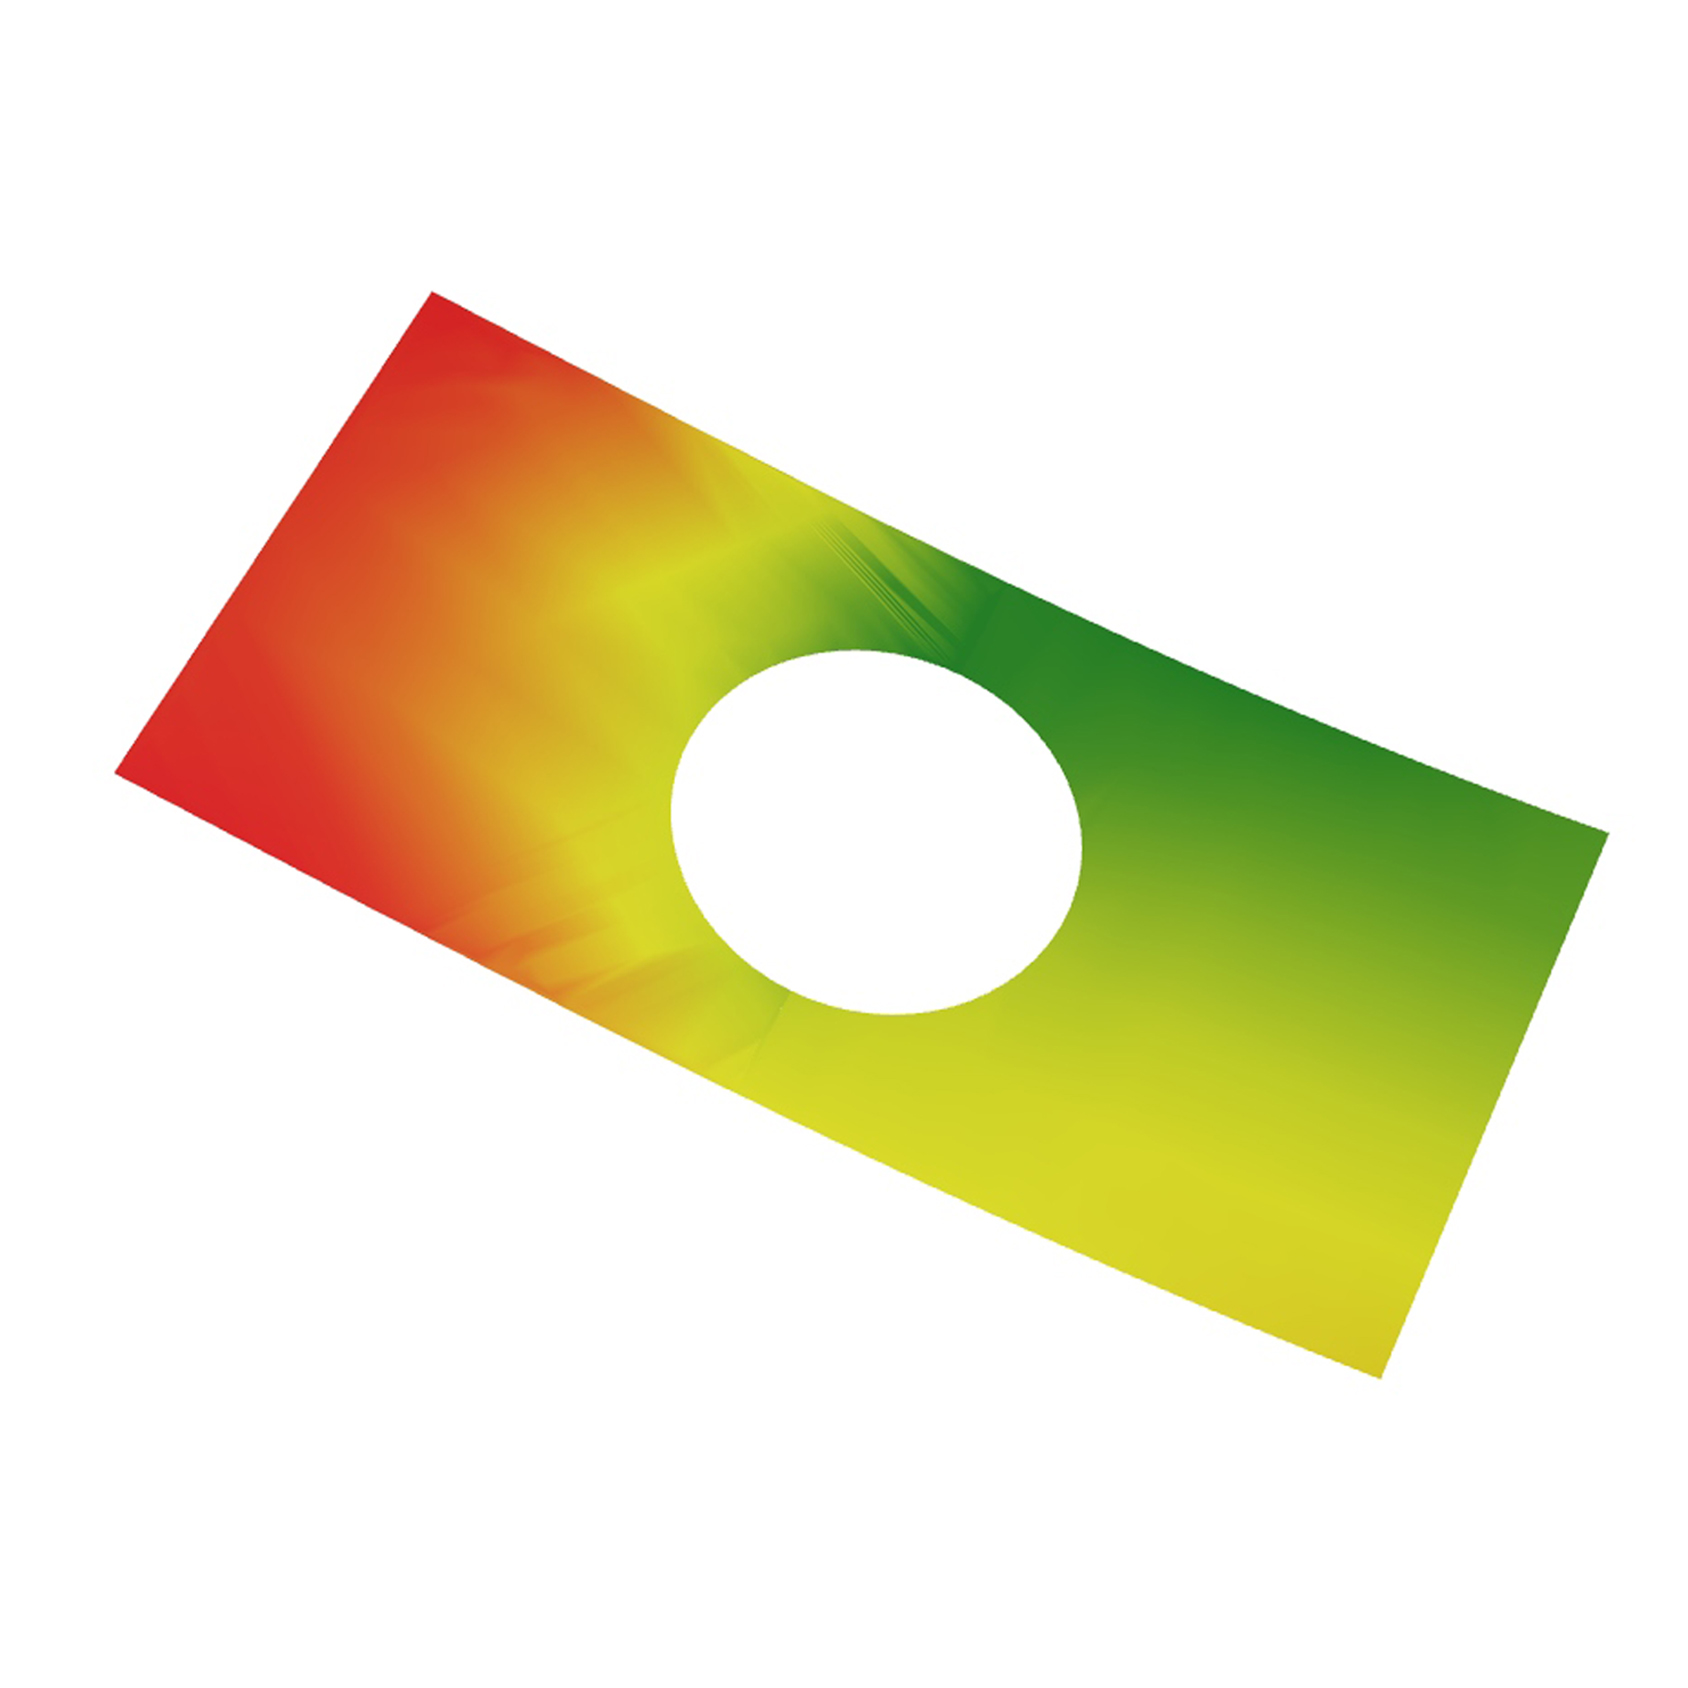
b. NURBS Surfaces
Generally speaking, a surface can be seen as a two-dimensional object with a u-direction and a v-direction. Its corner points define a two-dimensional domain.
The location of every point on the surface can be defined by a parameter set “(u,v)” that falls inside the surface’s two-dimensional domain. Every point on the surface has a normal vector “N” associated with it.
When one “reparameterises” a surface in grasshopper (r-click on the curve component), one resets this domain to u (0 to 1) and v (0 to 1), meaning the origin has an associated value of t=0, and the end the opposite corner a value of t=1.
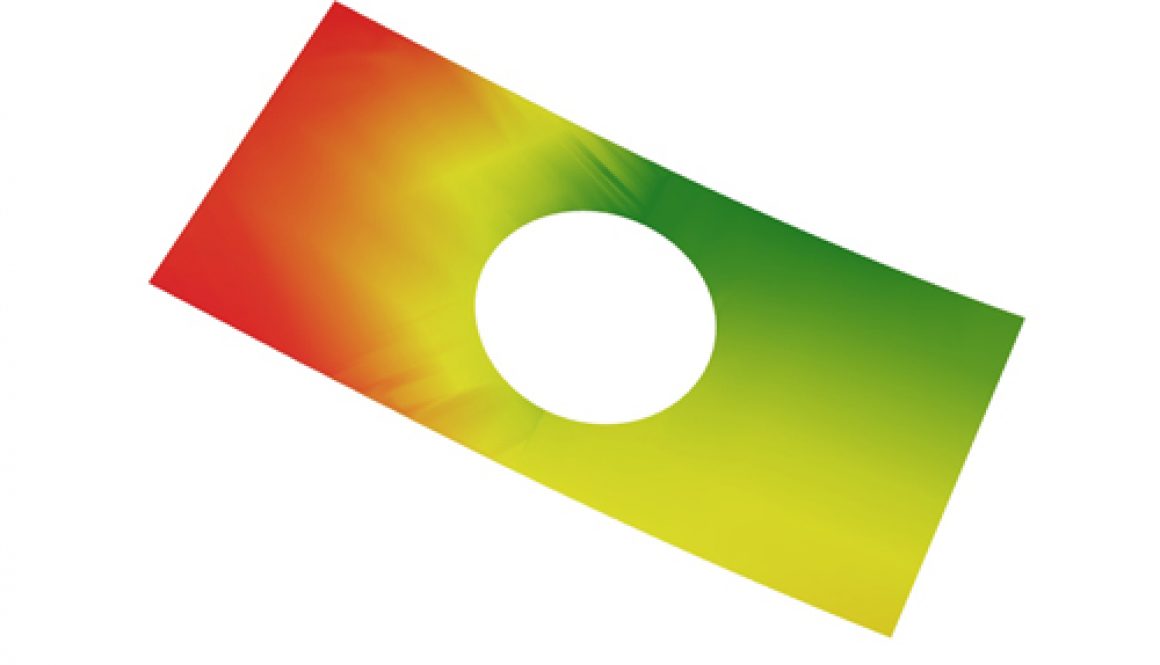
A trimmed version maintains it’s part outside of the cutting line, but does not display them.
A polysurface, or BRep (boundary representation) is built up from a series of (possibly trimmed) surfaces.
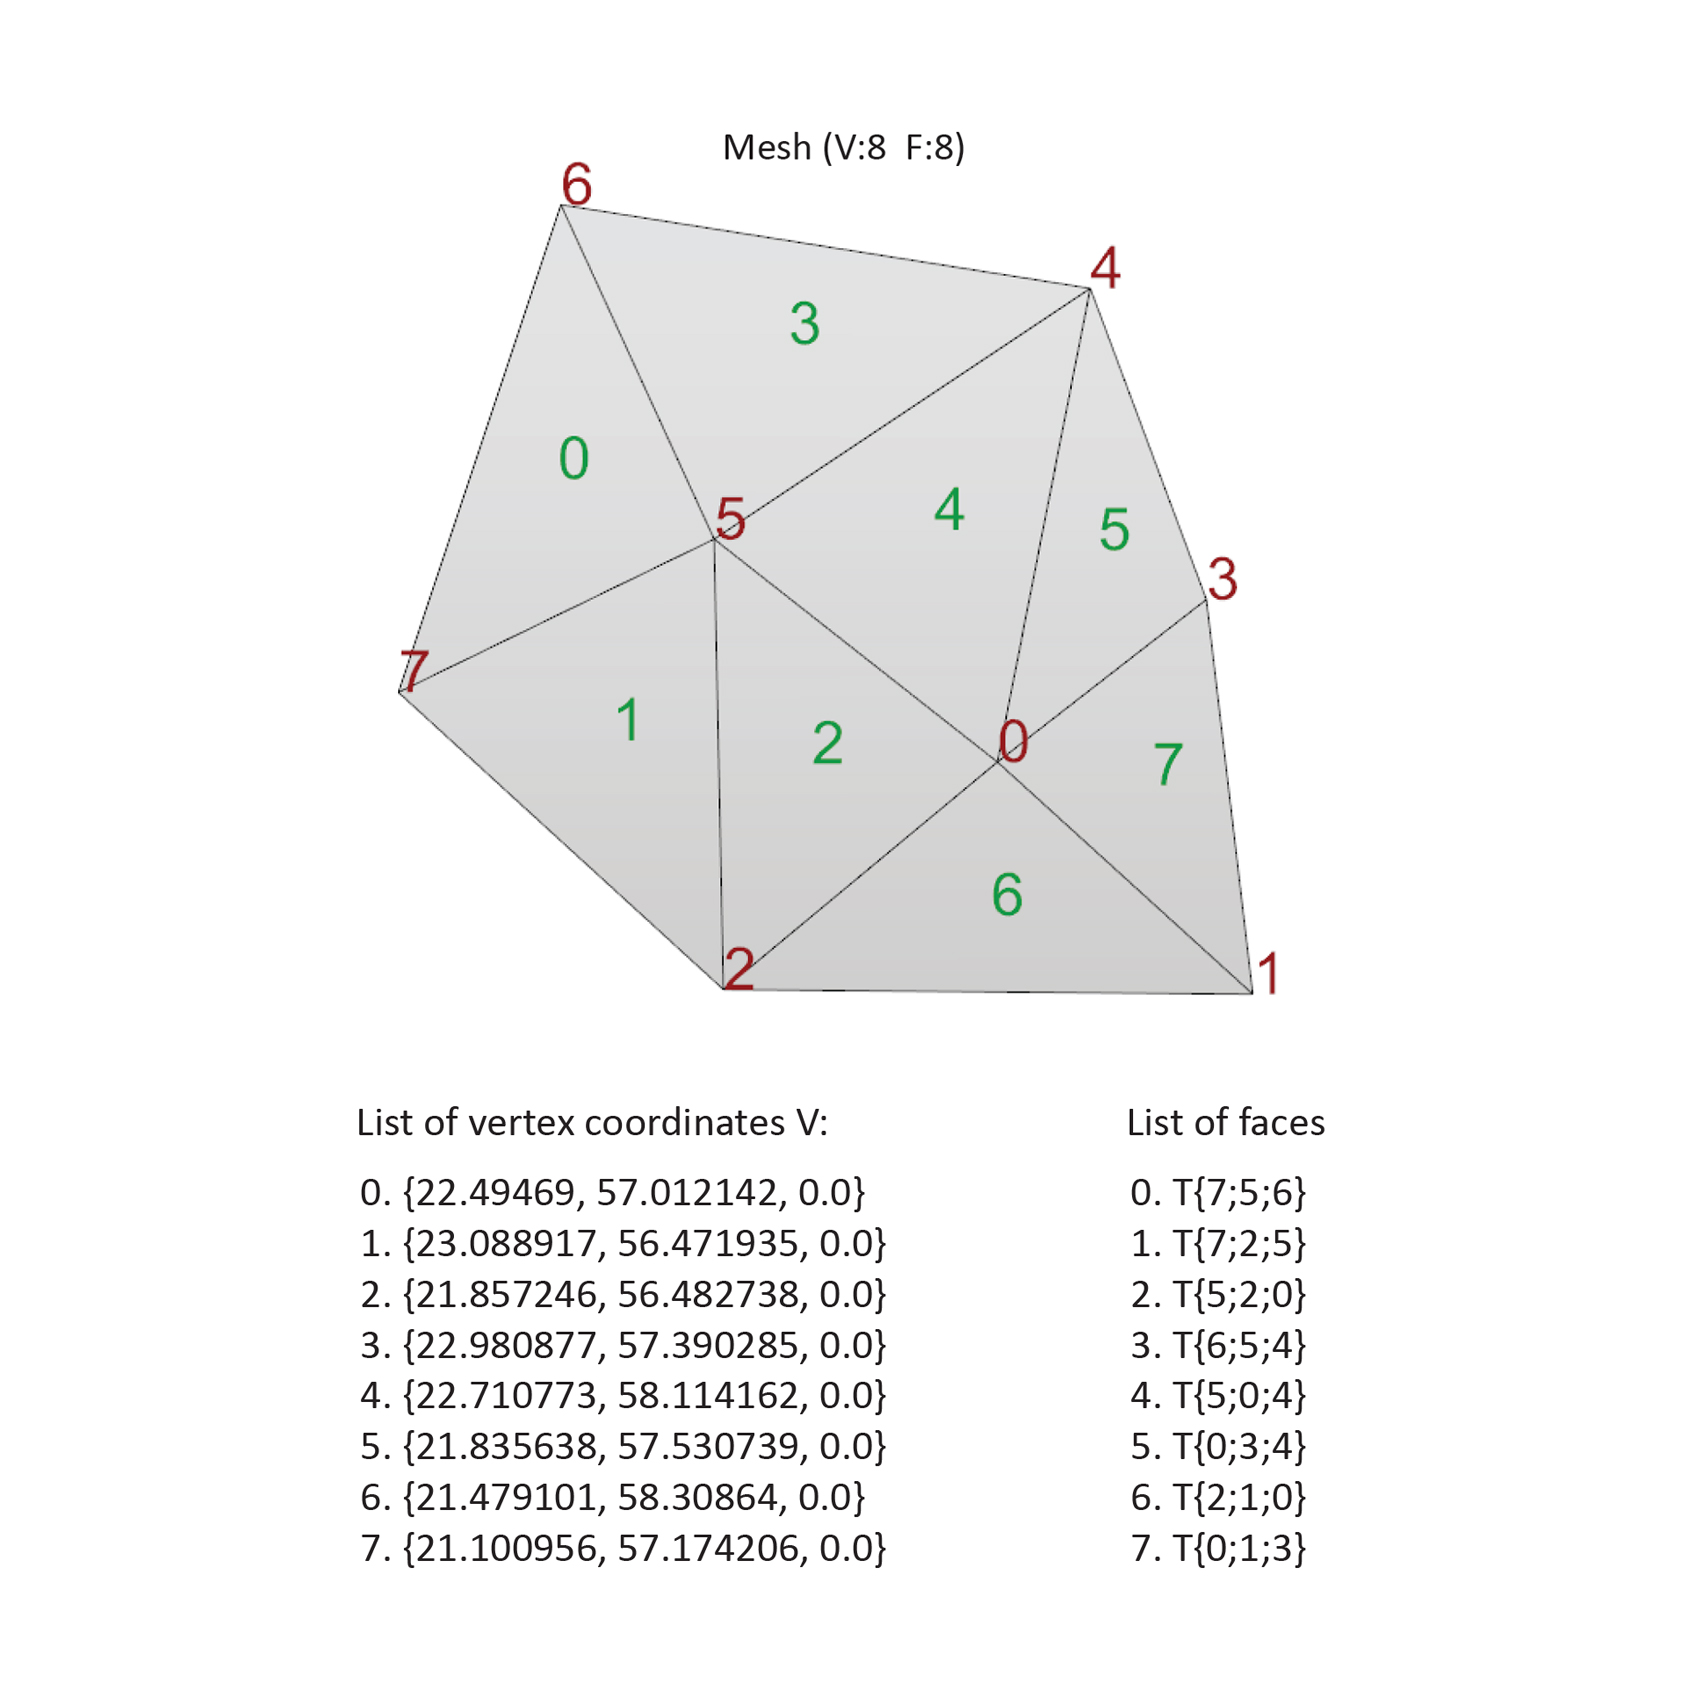
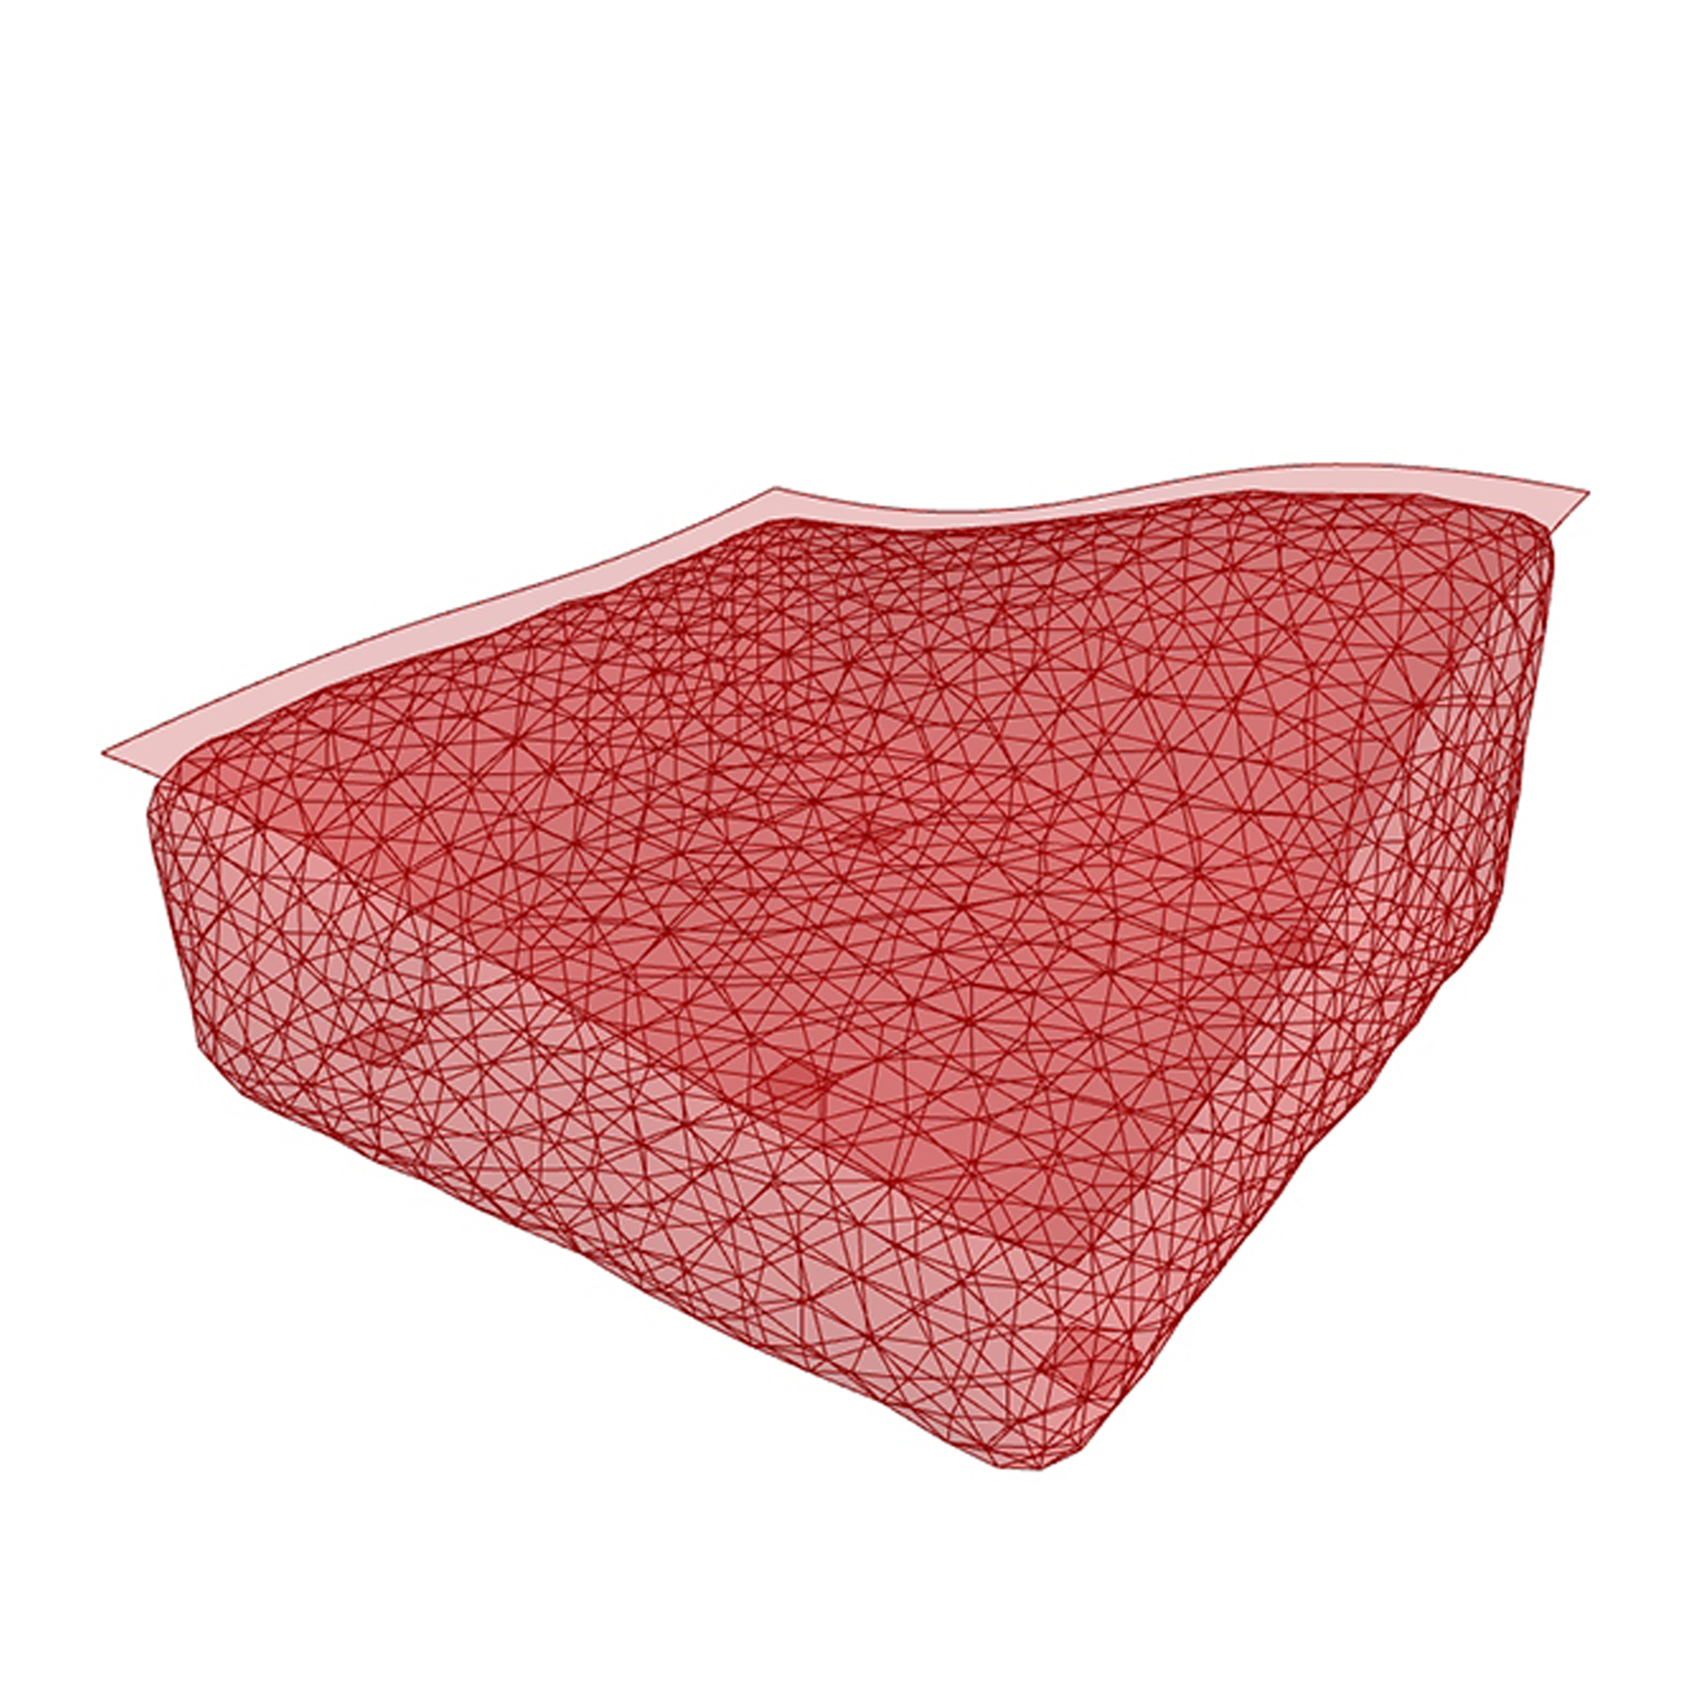
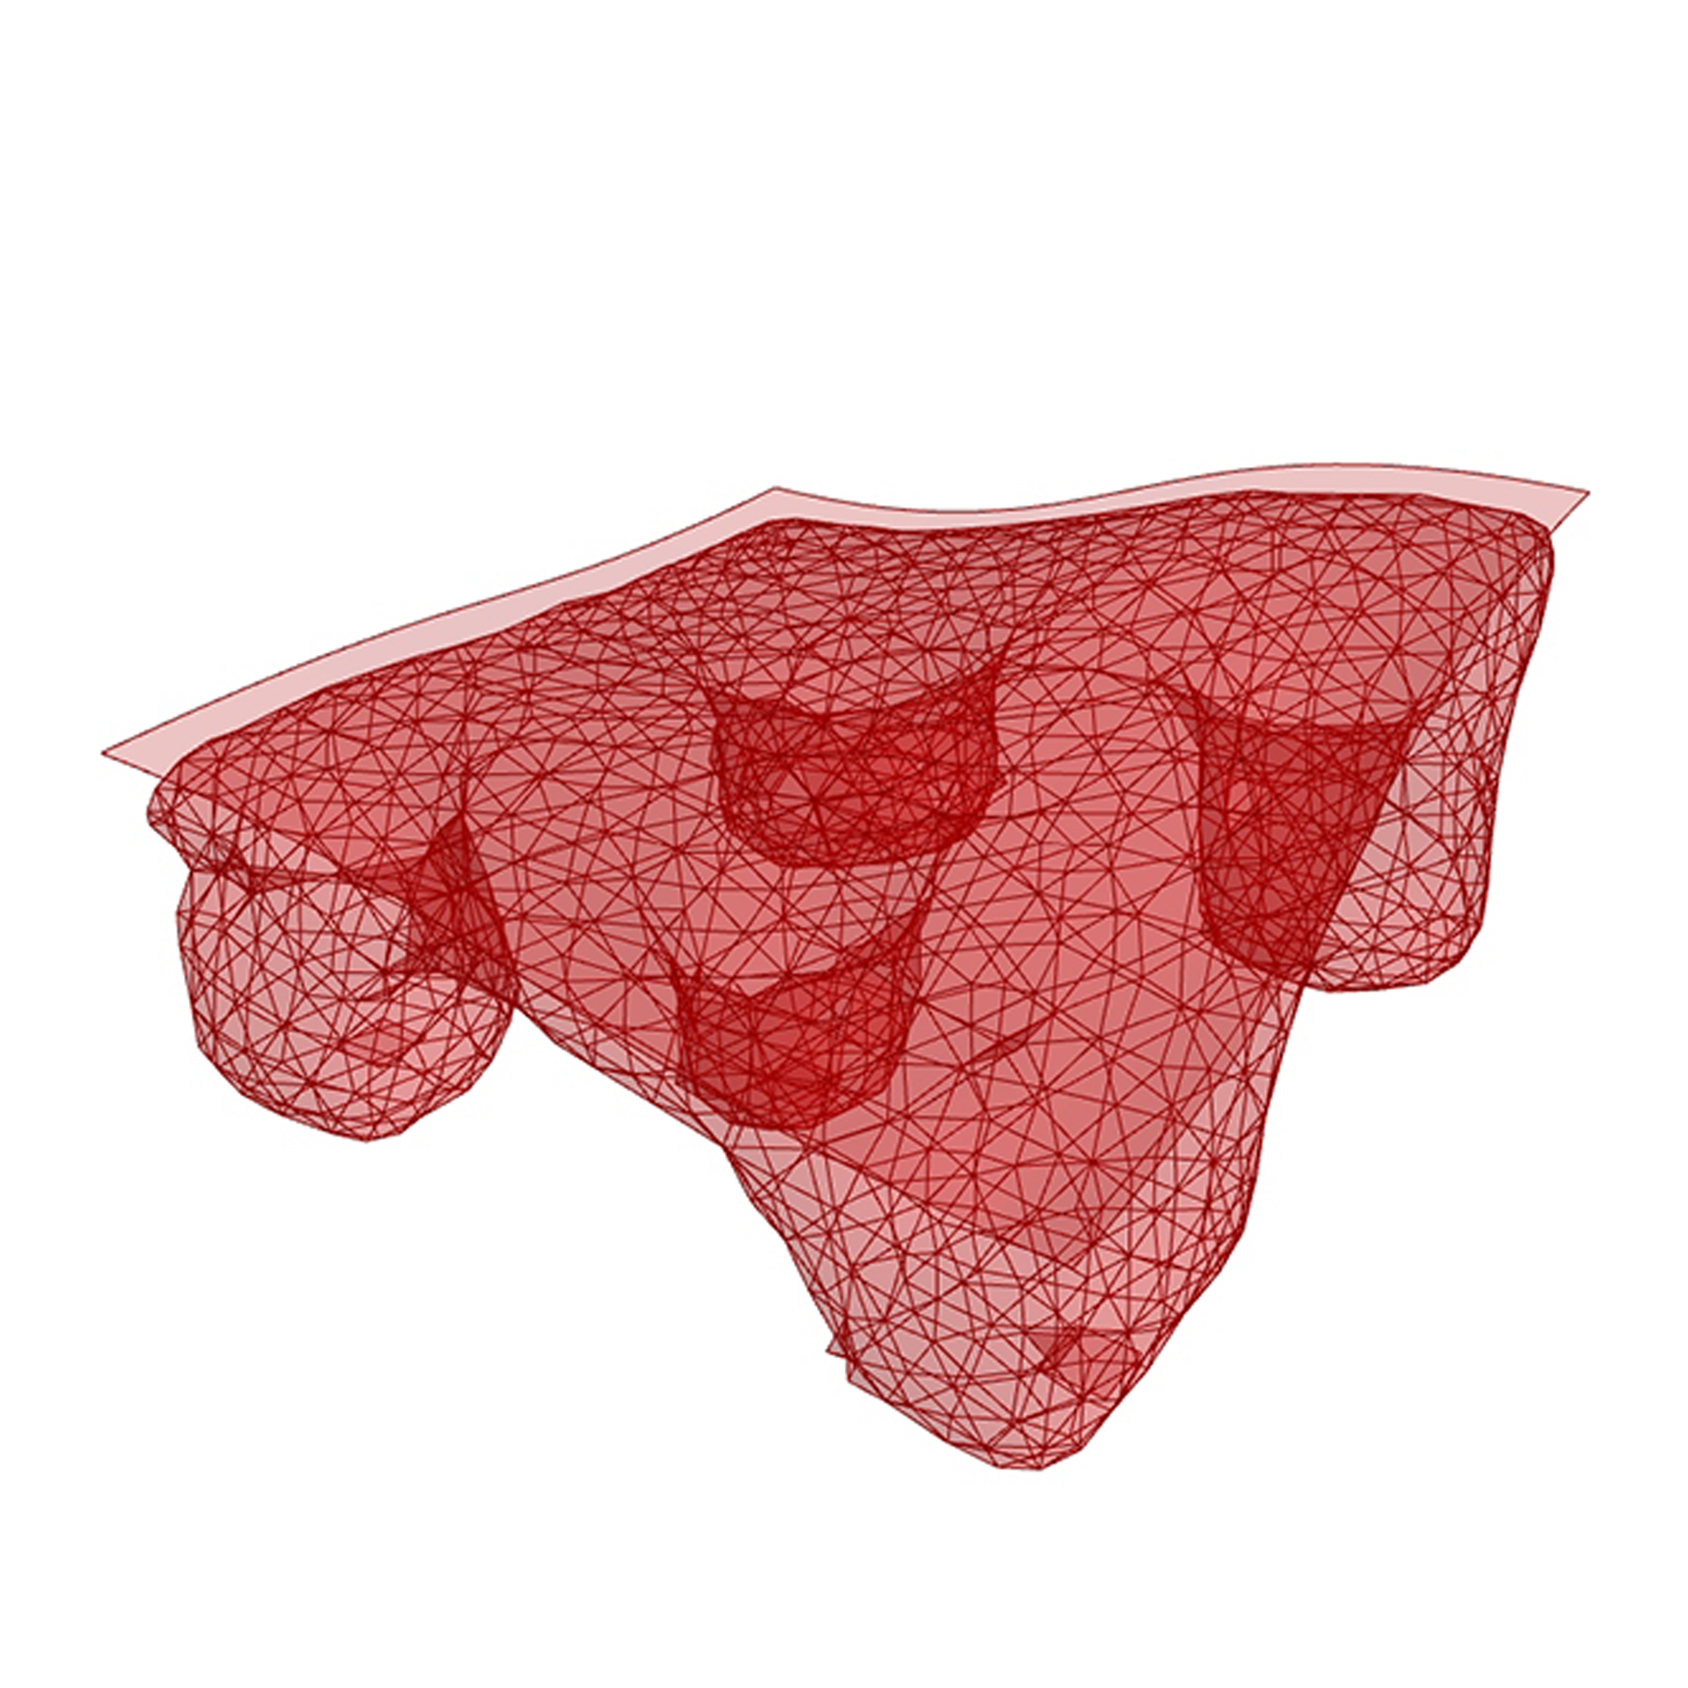
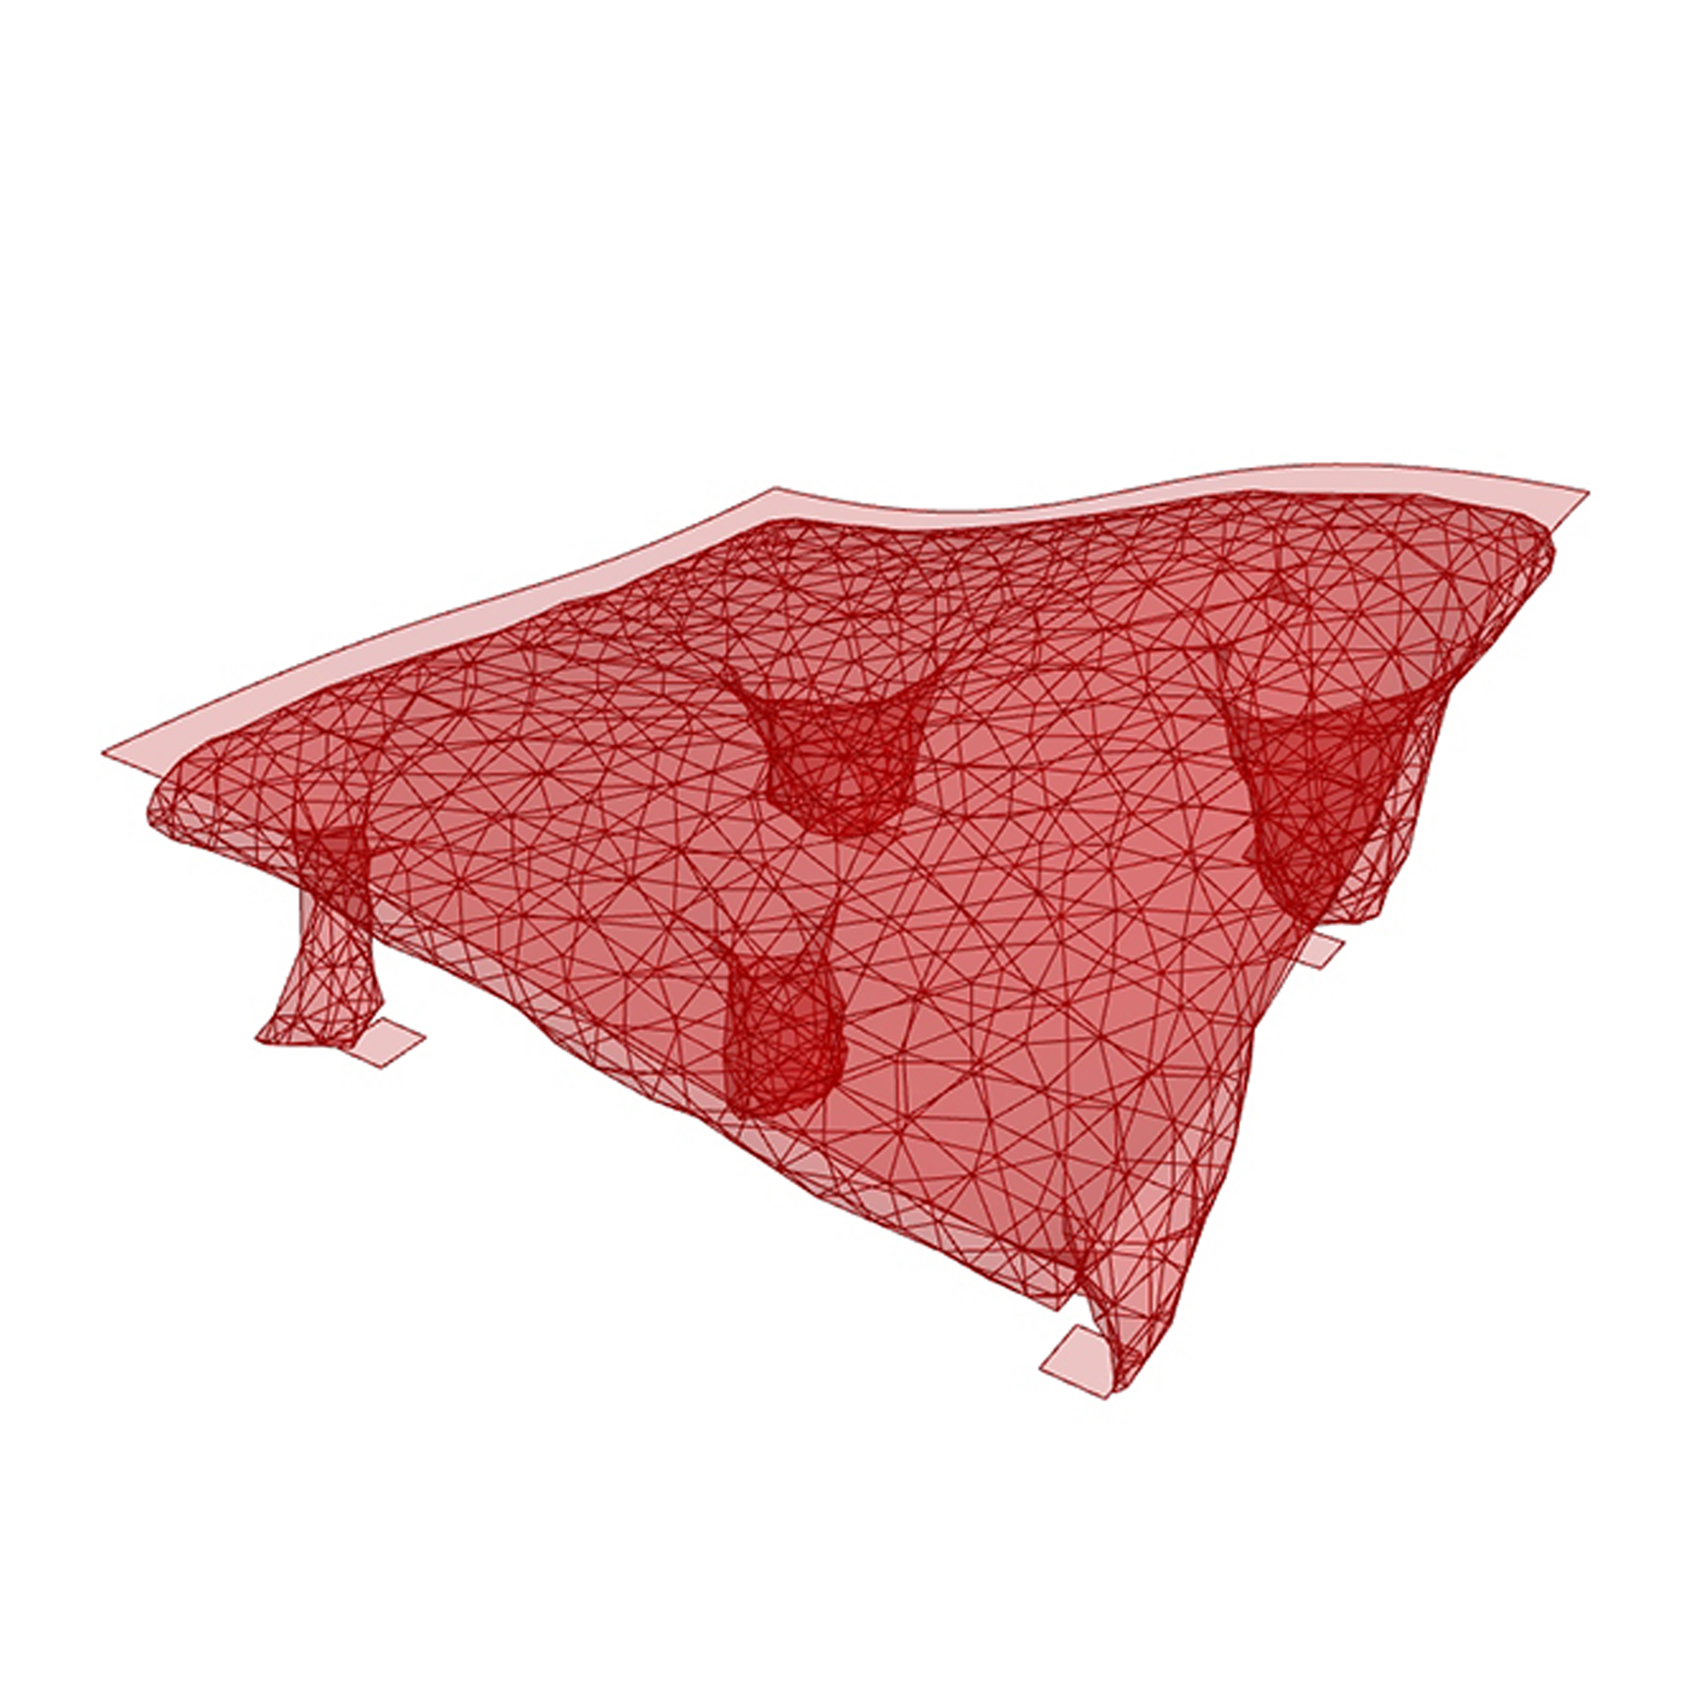
c. Meshes
A mesh is defined by a generic collection of mesh faces. Each mesh face is defined by its 3 or 4 vertexes (T = triangular face, Q= quadrangular face).
To define a mesh one needs 1) a list of vertex coordinates, 2) a list of the faces that make up the mesh, and 3) the definition of which vertexes define each face.
Each vertex has a normal vector “N” associated with it, and can contain colour information.
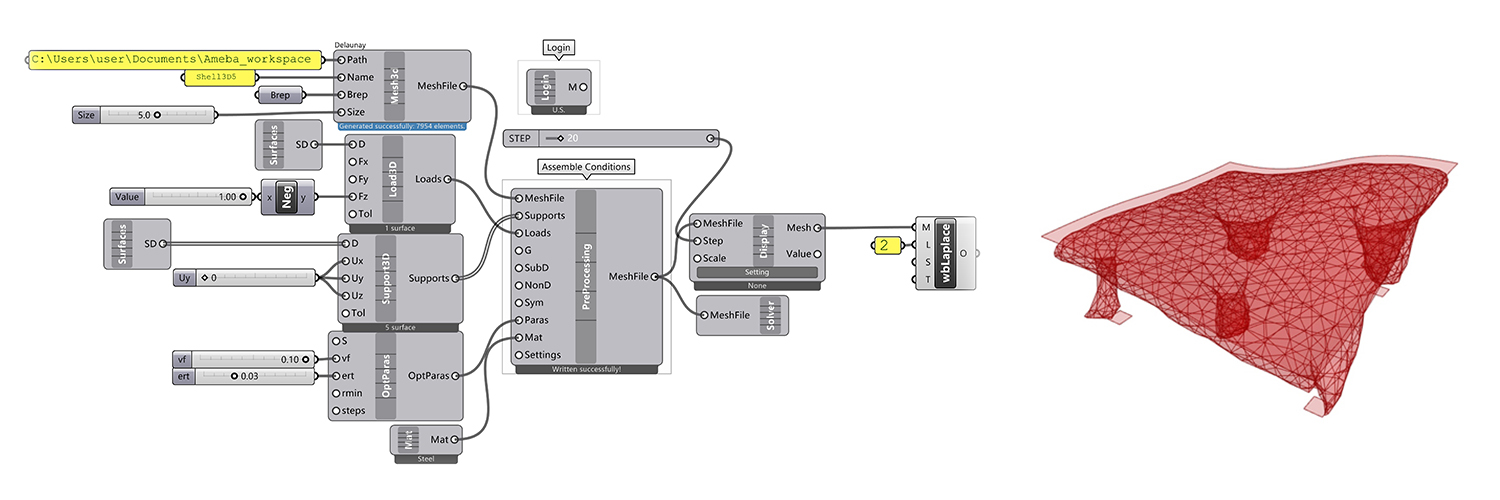
This exercise is using Grasshopper version 1.0.0007